The black background magic
Dental Photography School
•
1m 33s
Ever wondered how to create a stunning shot with an isolated object on a pitch-black background? It’s all about the right technique and a little optical wizardry. Today, we’re spilling the secrets.
1 - Start by getting your object, a mirror, and a camera ready. Any object will do; it’s the technique that’s going to steal the show!
2 - Place your object in the center of the mirror. The mirror will not only reflect your object but also bounce off the light in a way that makes it stand out against the background.
3 - Set your camera at a 45-degree angle. This is your golden angle! It helps catch the light just right, illuminating your object while letting the background fade to black.
4 - Now, adjust your camera settings to underexpose the shot slightly. This will make sure that all the attention is on your object, not on what’s happening around it.
5 - Click, and there you have it! Your object pops, standing stark against a black background that’s been swept clean of distractions, like magic.
Up Next in Dental Photography School
-
Standards in Dental Photography
The main purpose of dental photography is documentation. As much information as possible needs to be recorded under reproducible conditions. There must be standardization of the clinical camera, associated equipment, format, and light- ing of the intra- and extraoral views used in dental photogra...
-
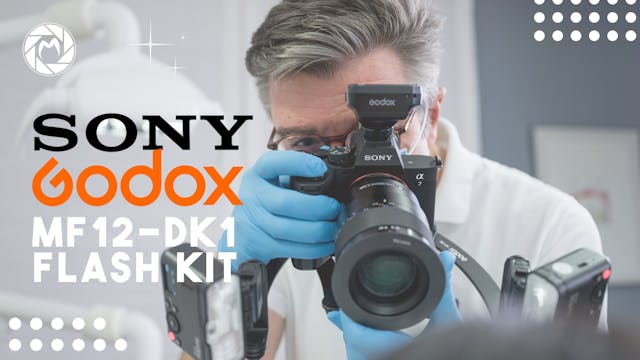
Godox MF12-DK1 System
Through extensive research and continuous refinement, in collaboration with Sony, we proudly
introduce the MF12-DK1 System, one more all-inclusive and advanced solution not only for esthetic dental photography. This comprehensive dental flash system includes all the accessories needed for dental ... -
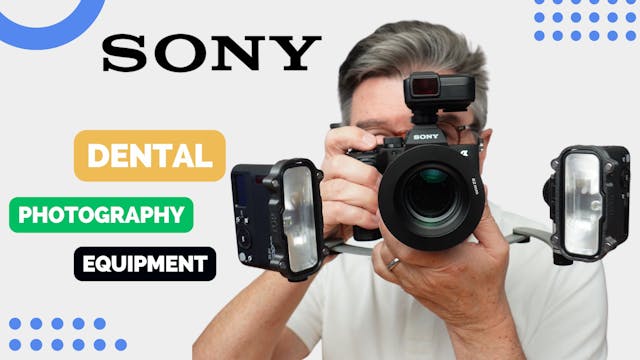
Sony Equipment
In this video, we will explore the Sony equipment and accessories that work best for dental photography. We will discuss the advantages of using Sony's full-frame mirrorless cameras, such as the Sony a7R IV and a7 III, for their high resolution, low light performance, and fast autofocus. We will ...


