How to setup Custom shooting modes on your Nikon, Sony and Canon camera��
and WHY you should use this option �
Efficiency: By creating custom settings, you can streamline your workflow and quickly switch between different shooting modes without having to spend time adjusting settings manually every time you take a photo. This can be especially helpful when shooting in fast-paced environments, where every moment counts.
Consistency: Custom settings allow you to maintain consistency in your shooting style, resulting in a more cohesive body of work. For example, if you frequently shoot in low light situations, you can create a custom setting that optimizes your camera's ISO, aperture, and shutter speed settings for these conditions. This can help you achieve a consistent look across all of your low-light photos.
Creativity: Custom settings can also allow you to experiment with new techniques and styles. By customizing your camera's settings for a particular type of shot, you can push your creativity and try new things that you might not have thought of otherwise.
Ease of Use: Finally, custom settings can make your camera easier to use overall. By setting up your camera exactly how you like it, you can remove some of the guesswork from shooting and focus more on capturing the moment.
In dental photography, you only need 2 Custom settings for intraoral and portrait photography.
Drop a comment if you are using custom settings�
Up Next in Canon Dental Photo School
-
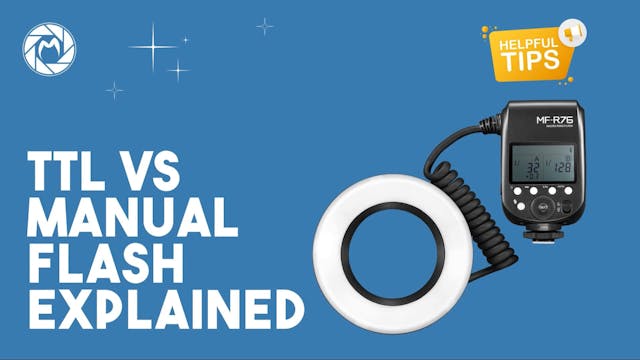
TTL or Manual Flash
Understanding Manual vs TTL in Dental Photography: A Comprehensive Guide
- Comparison of manual and TTL flash modes in dental photography.
- Demonstrations using the Godox MFR 76 in both manual and TTL modes.
- Brand-specific TTL features for Nikon, Canon, and Sony.
- Introduction to advanced de...
